All post
Make Cupcake By Felt
Here is a quick tutorial on how to make a felt cupcake like the one I just made.
If you don’t have pre-made patterns, you have to be resourceful, that’s what I did. Give it a try 🙂
Have fun!
Step 1: Ingredients
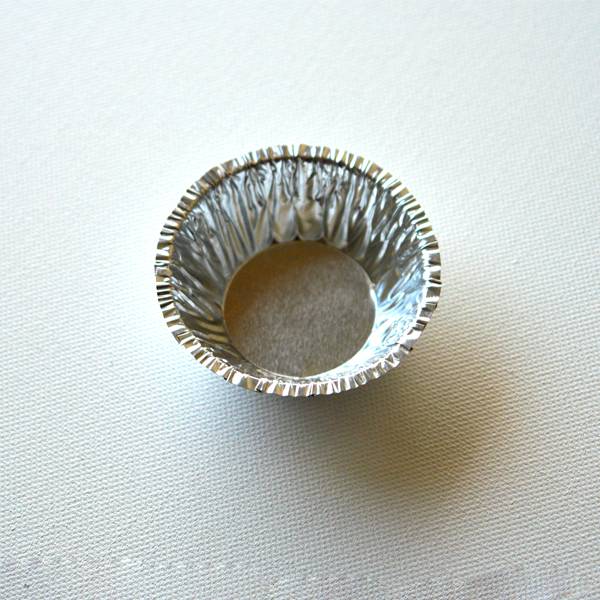
Here is what you will need:
- Two aluminium baking cups,
- Scissors,
- Pencil (or any other thing to trace on felt),
- Felt pieces: white and light brown,
- Needle and thread on the matching colors,
- Non allergic filling,
- any toppings of your choice… the fake kind
Step 2: Make the Pattern

Easy as tearing apart something already made. Fun!
Take your scissors and cut your aluminium baking cup in two. Place it flat on a table, you will need it right away!
BE CAREFUL! It probably has sharp edges!
Step 3: Make It Work
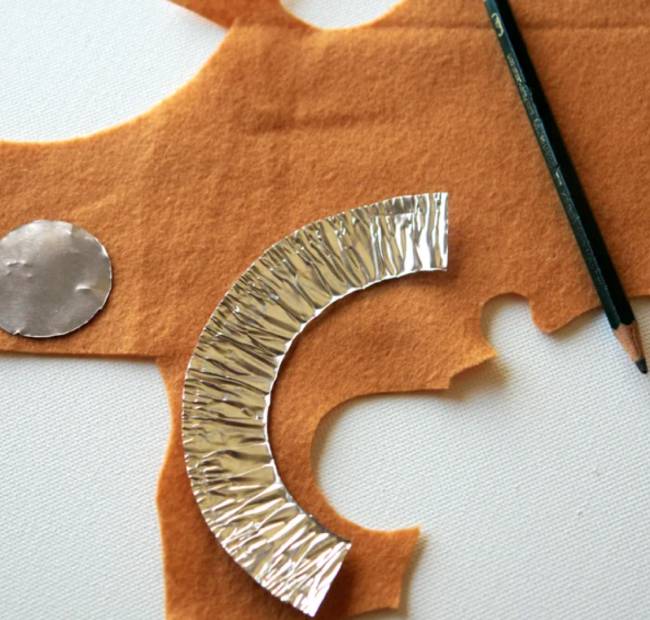
It’s time to use your pattern!
Place it over the felt color you will use for the cake body. I picked this light brown, it’s just a regular cake. But if you love chocolate, don’t be afraid to use dark brown!
Trace around both shapes with your pencil.
Step 4: Where’s the Top
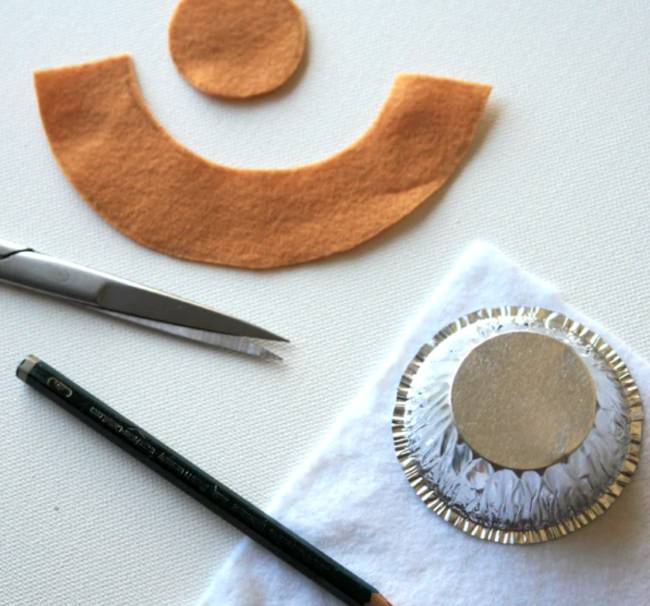
Here is how you make the top. Just pick a new aluminium baking cup and trace around the top.
I picked white felt because my cupcake will be covered in luscious plain cream!
But you can pick any flavour. Try a light pink for a strawberry touch… yum!
Step 5: Cut Cut Cut
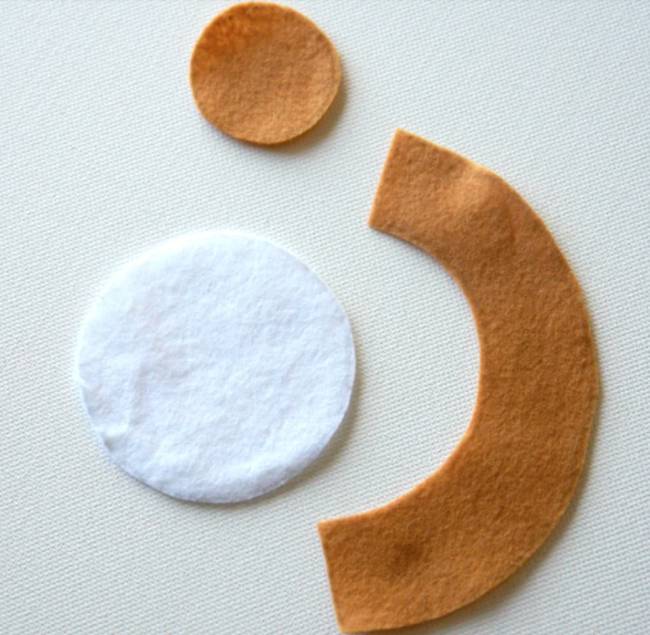
After the tracing, go for the cutting!
Cut around your traced shapes. Here’s some advice: you may want to cut outside the trace on the brown felt shapes, and inside the trace on the white felt shape. I found out it ends up more fitted.
So now you have three pieces, right?
Step 6: Time to Reach Out for Needle and Thread
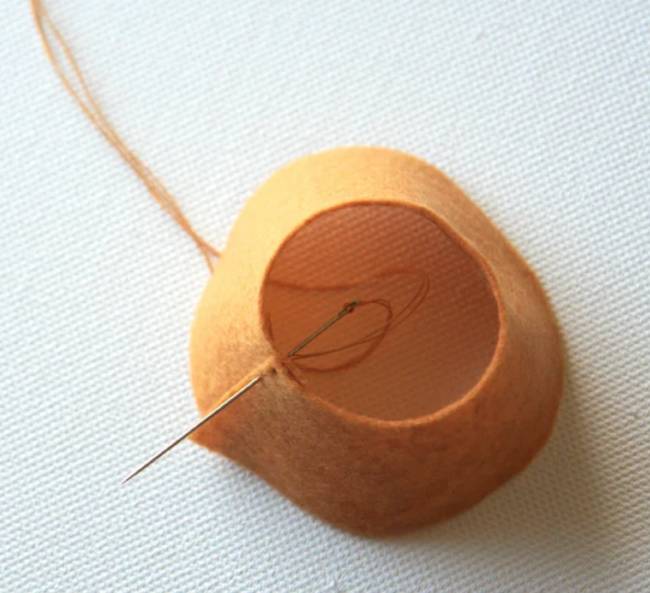
Pick your needle and a light brown thread and stitch along the curved shape sides. This will form the side of your cupcake.
Use a simple running stitch.
Done. Cut thread. Next.
Step 7: This Is Your Time for Fun
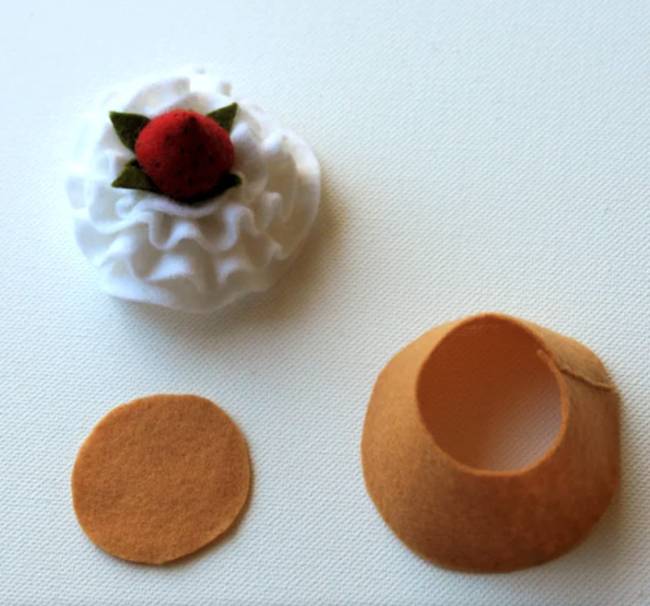
Here’s what you can do: have fun.
Use your imagination, this is where we can do it.
Just choose whatever you feel like to have as a topping and stitch it on the white circle. I like plain cream and strawberries… mmm.
Step 8: Top It
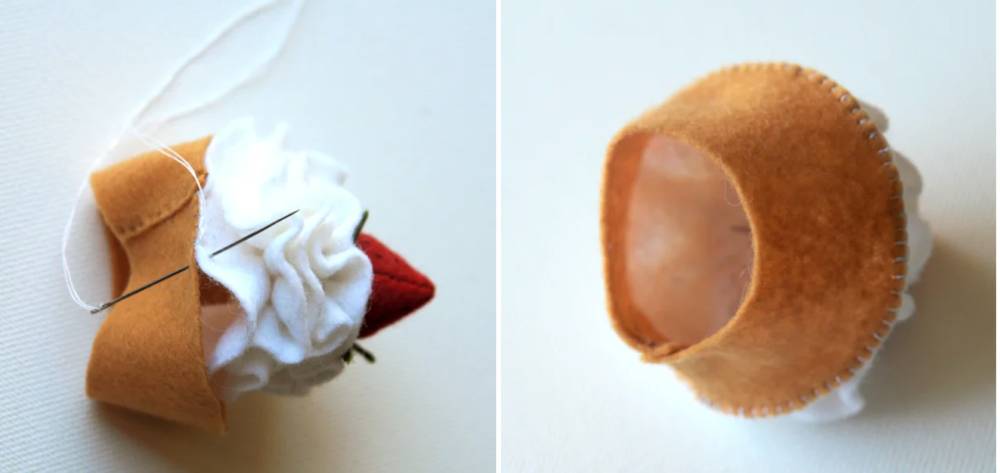
Time to attach the topping to the cake side.
Choose a matching thread a stitch all the way round. Make sure you start near where you finished last. It’s better to leave all the finishing stitches on the same side.
You can use a buttonhole stitch.
Step 9: And the Bottom

Do the same to the bottom circle. You can use the same buttonhole stitch, but a running stitch works too.
Wait… don’t stitch all the way now!
Step 10: Filling Time
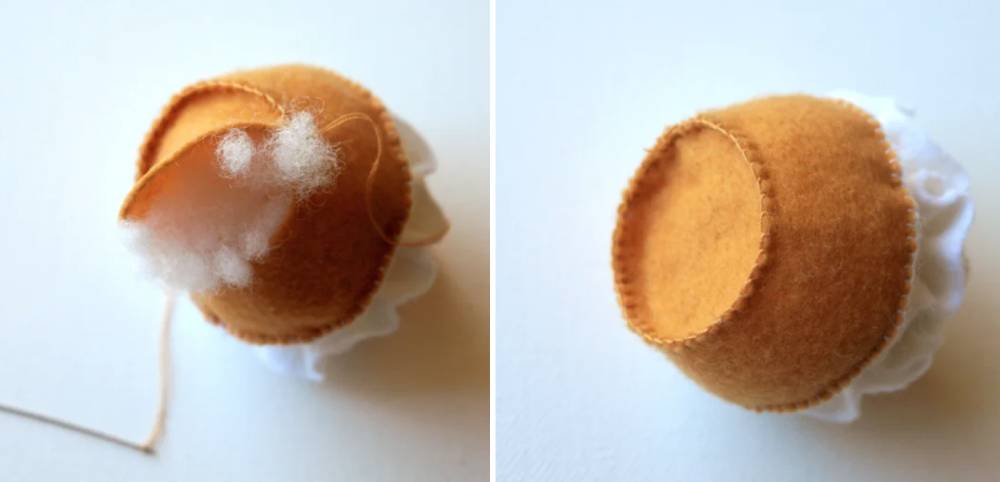
Do not forget to add your filling before you stitch all around the bottom.
Fill enough so that it does not feel too mushi, but not as much as it feels hard as a rock.
Done? Stitch to the end. Hide the leftovers. Done!
Step 11:
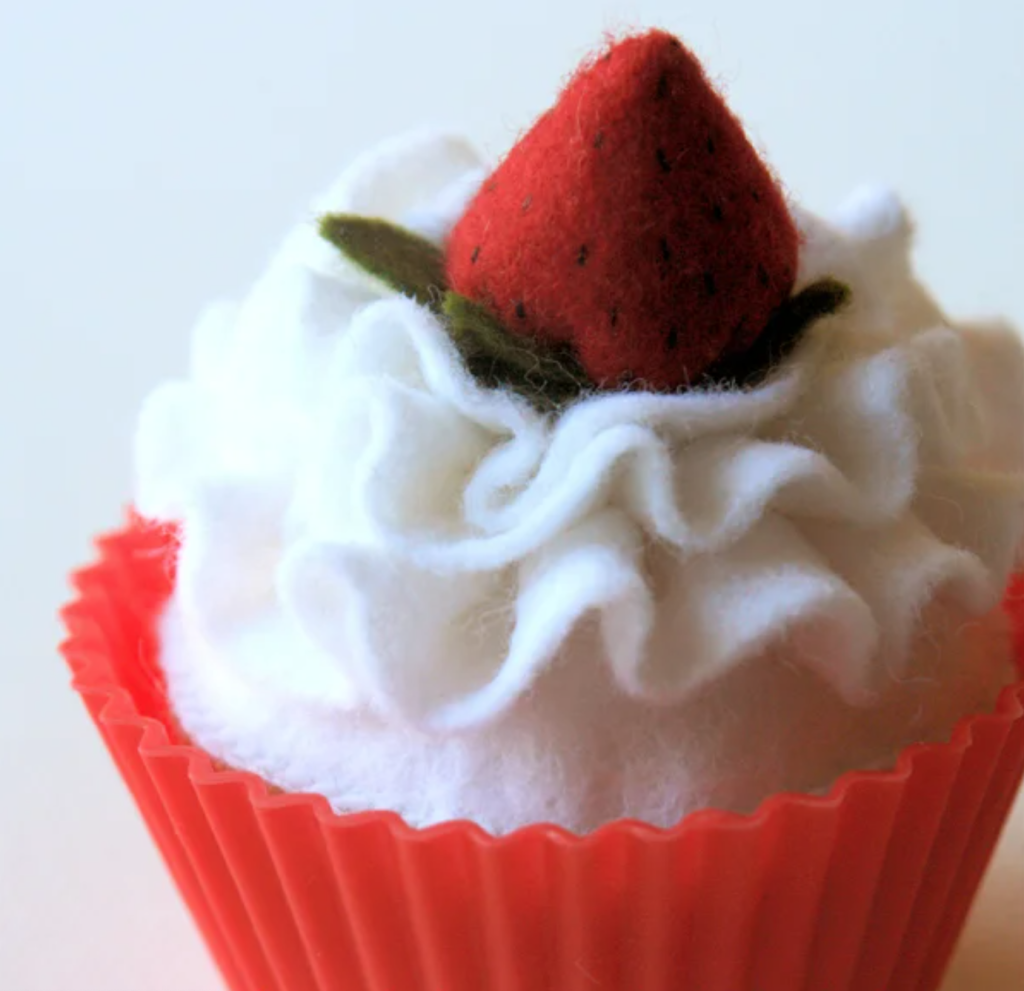
Time to spice it up a notch.
I added this cute silicon baking cup for the photo, but it’s up to you, use whatever you like, but make it yummi 🙂
Have fun, I know I had!
